In this article:
- Discover the image editor
- How to use the image editor tools
- How to use and modify the layers
- How to edit the background color for the image
- How to create a color gradient
- How to edit the dimensions of the image zone
- How to save your image and the changes you made
- How to use an edited image
- Can I use keyboard shortcuts in the image editor?
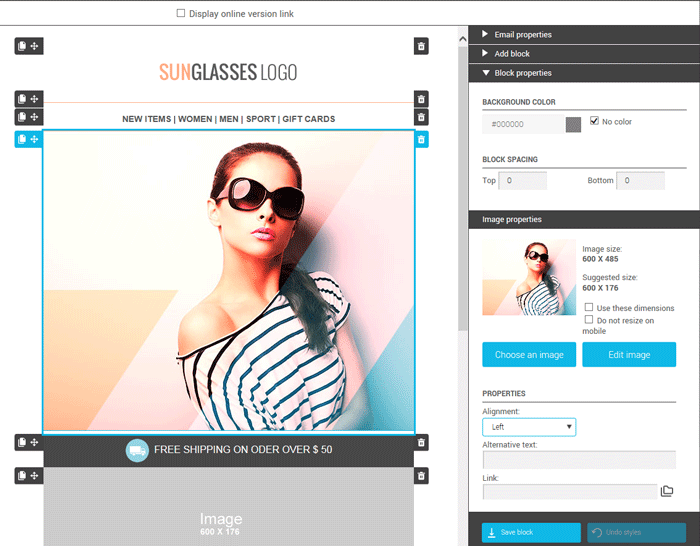
Put your images in the spotlight and enhance them, thanks to our image editor. With this tool, you'll be able to crop and resize images, add various shapes or write catchy slogans. You'll even be able to create complex images by combining various components in layers.
Before
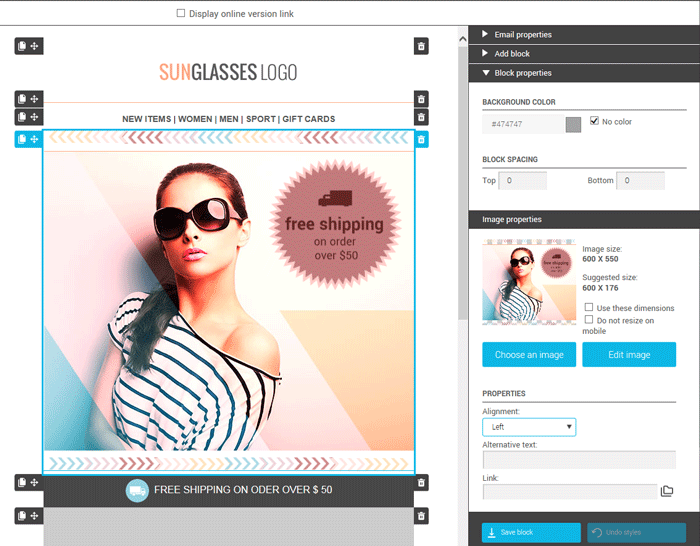
After
Discover the image editor
How to access the image editor to edit your image
You can access the image editor from any image block in a premade or basic template.
To edit an image in an image block:
- Open the template in which you want to edit an image. To learn how to create a template, click here.
Note: The image editor is only available in templates built from a premade or basic template.
- Click your image to select it. If you haven’t added your image to your template yet, click here to learn how.
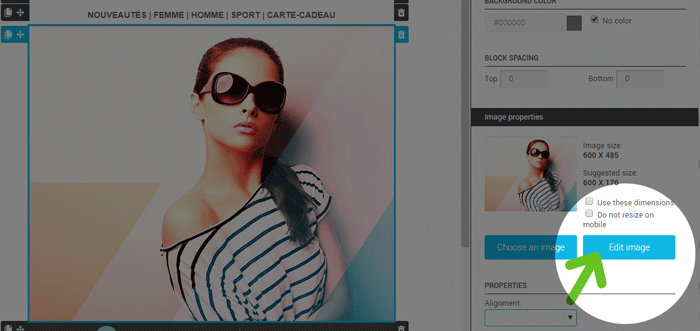
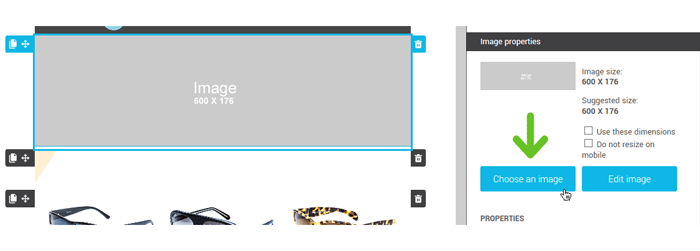
- In the side panel on the right of the template builder, go to the “Image properties” section.
- Under the preview of your image, click the “Edit image” button.
Welcome to the image editor! Happy editing!
What can I find in the image editor?
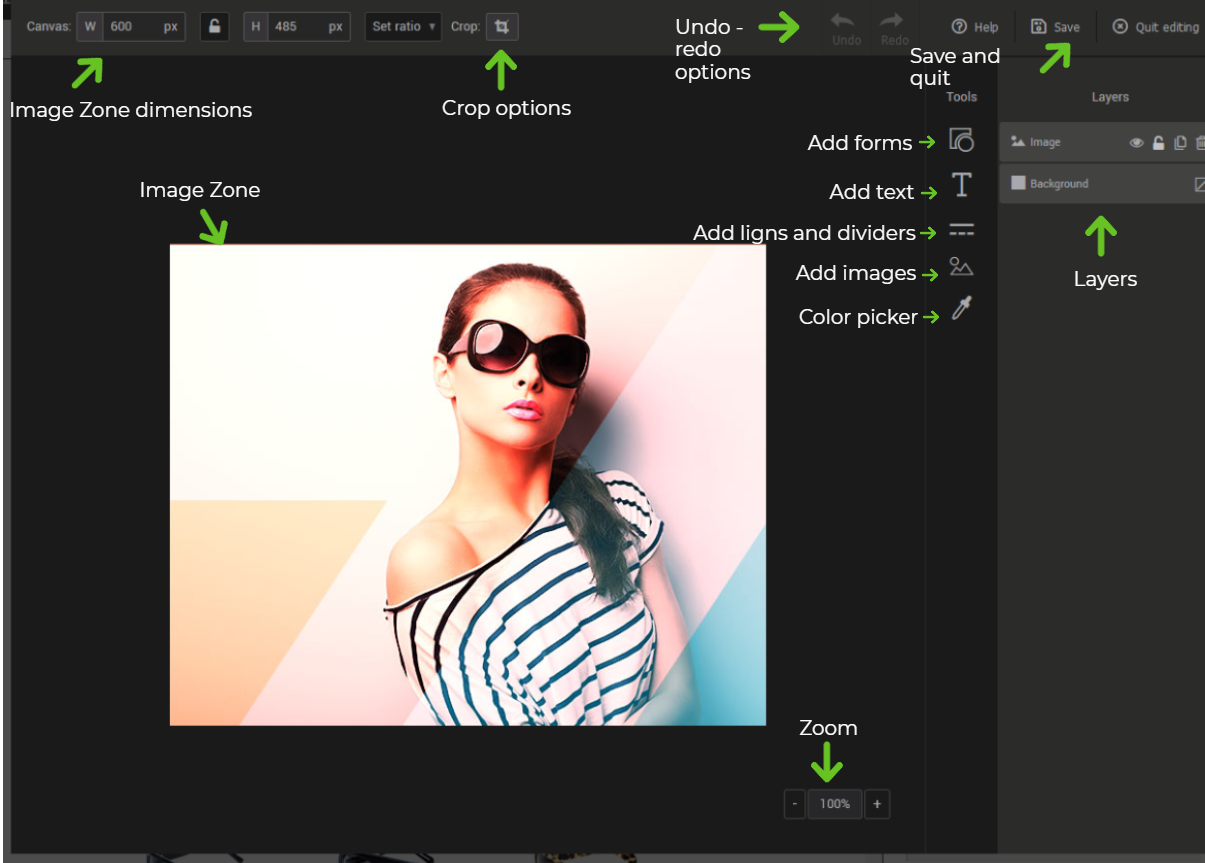
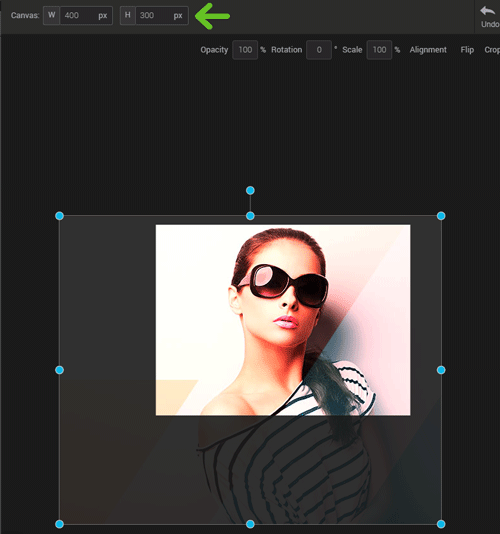
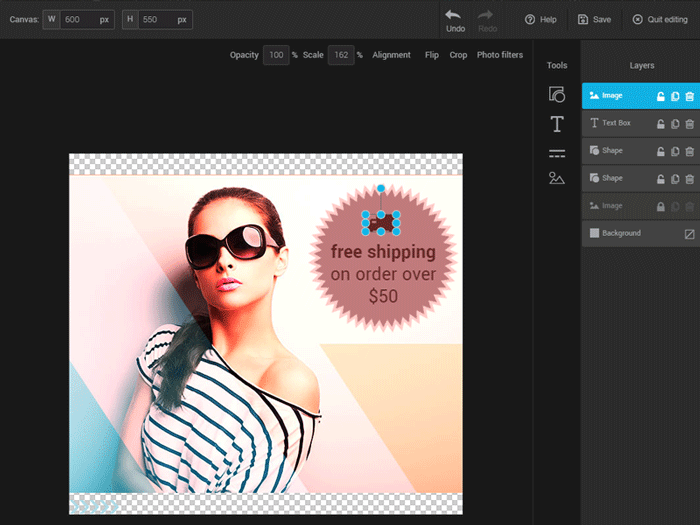
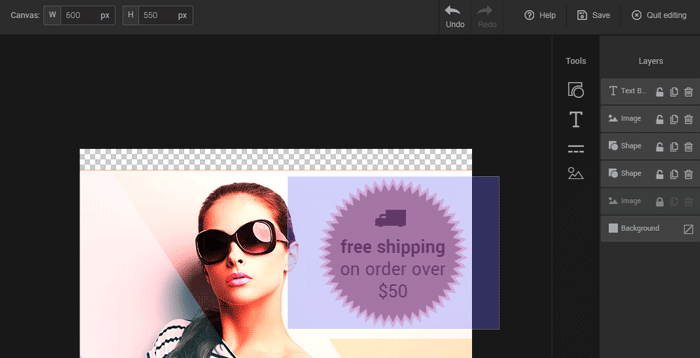
Image zone
At the center of the editor is the “Image zone. ” Completely at the top left, you will find its dimensions and tools to re-frame it.
Tools
To the right of the Image Zone, you’ll find the different visual tools available: shapes, text, lines and pictures.
Shapes: Add different themed and coloured shapes to your images.
Text : Add stylized text on your images or shapes.
Lines: Add a wide variety of lines to your image.
Image: Add other images to your image.
Color picker: allows you to find and copy the color code of a specific element in your image to harmonize your layout.
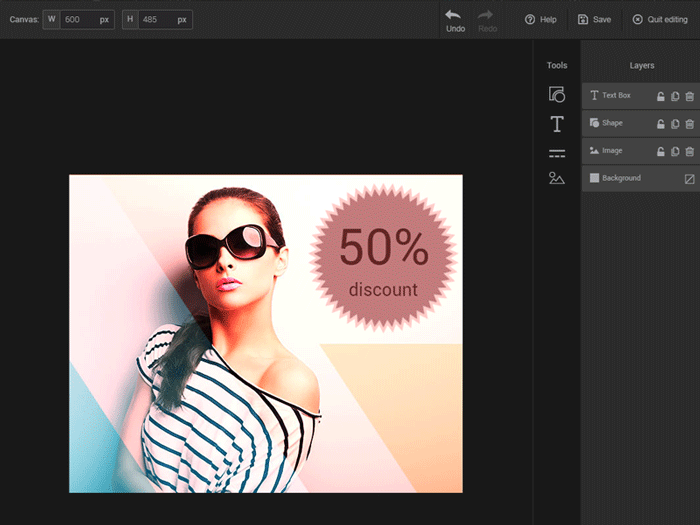
Layers
Each component added with the tools will create a new layer on the far right of the editor in the “layers” section. Drag the layers to change their display order. The background layer is the only layer that you can't delete. This layer defines the background of your image: it can be transparent or filled with a color.
Undo, redo, save and quit
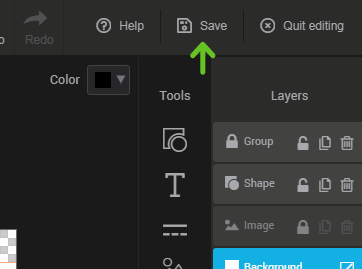
At the complete top right of the editor, you’ll find the “Undo”, “Redo” options to either cancel or restore an action, along with the “Save” button to save the changes made to your image.
Quit the image editor by clicking the "Quit editing" button at the top right of the image editor. Don't forget to "save" your changes first.
How to use the image editor tools
- How to edit an image
- How to add shapes
- How to add text on your image
- How to add a line on your image
- How to add an additional image component to your image
- How to find the a color code
How to edit an image
- Change the opacity
- Rotate or flip an image
- Edit the dimensions or scale of an image
- Align an image in the image zone
- Crop an image
- Apply a filter to your image
- Round the corners of an image
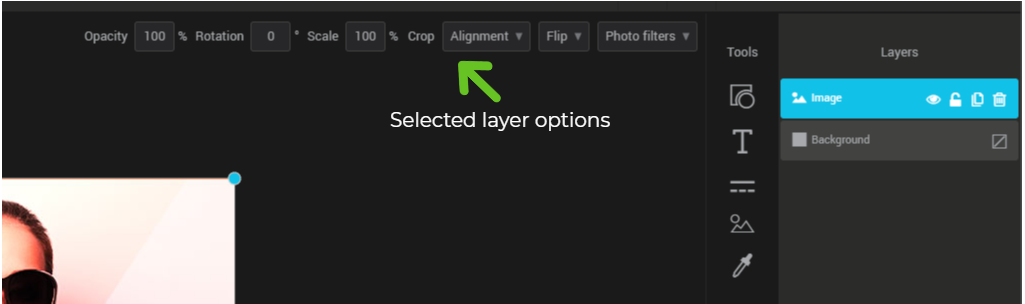
To edit an image, you’ll first need to select it. In order to do so, click the image component in the image zone or select the appropriate layer.
Change the opacity
You can change the opacity of your image to make it see-through.
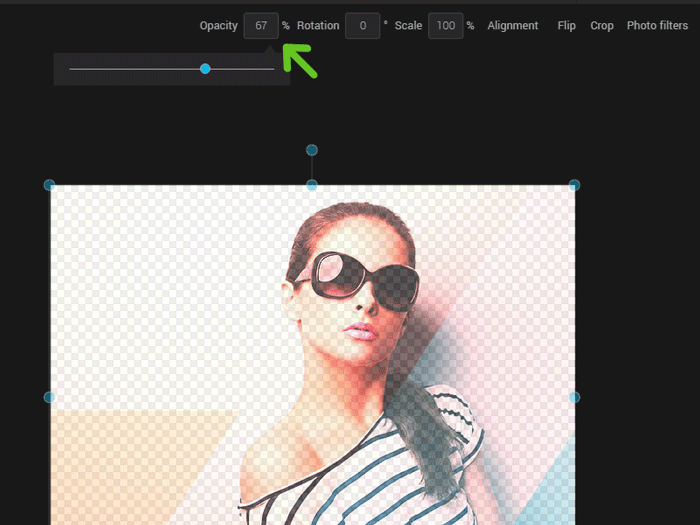
To change the opacity, click the image in the image zone or select the appropriate layer. Once done, click the percentage space. From there, either enter a value manually or move the cursor.
Rotate or flip an image
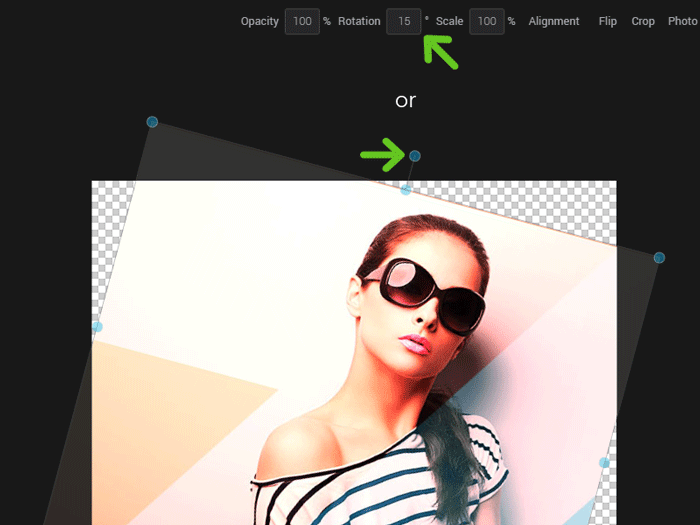
To rotate your image, select it then move the rotation axis on the top of your image to rotate it left or right. It is also possible to enter the exact number of degrees in the "Rotation" field.
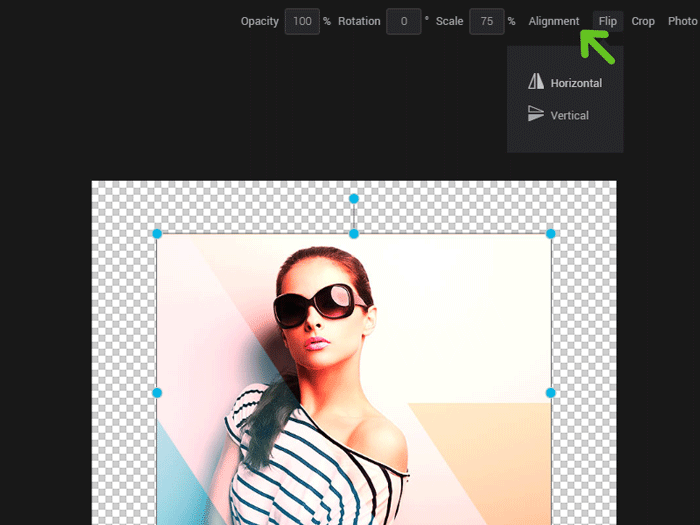
You can also flip an image horizontally or vertically by clicking the “Flip” option and choosing the appropriate option.
Edit the dimensions or scale of an image
To proportionally resize your image, select your image and enter a percentage in the “Scale” box or slide the cursor. You can also click your image and move the corners (colored dots) to resize your image.
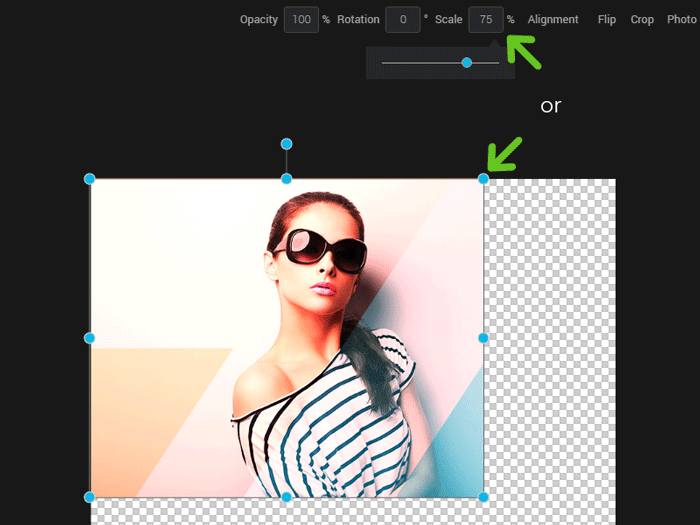
By holding down the SHIFT key while moving one of the corners, you’ll be able to resize your image without respecting the original proportions.
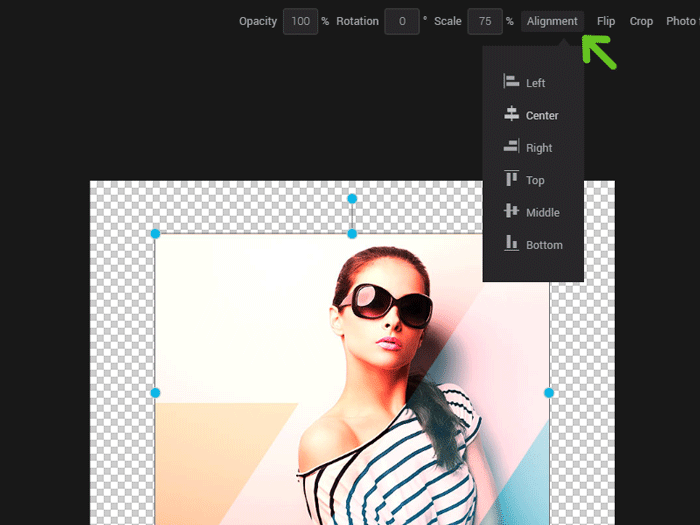
Align an image in the image zone
The “Alignment” option allows you to change the alignment of your image in your image zone the same way we can align a paragraph in a document. To do so, select your image then click on “Alignment”. Choose the appropriate option in the menu.
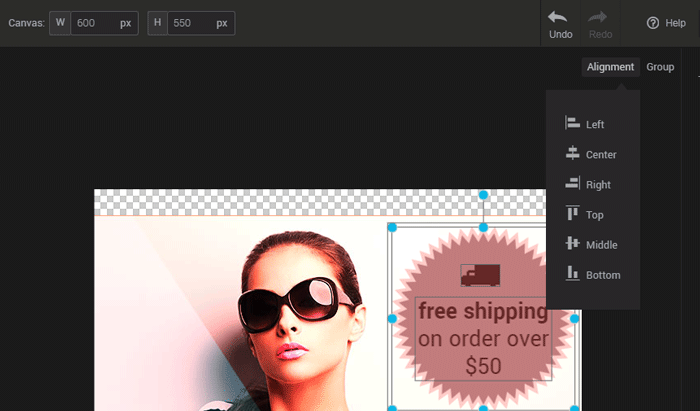
How to align an image in the image zone
How to align several layers together
Crop an image
In order to crop your image, you need to:
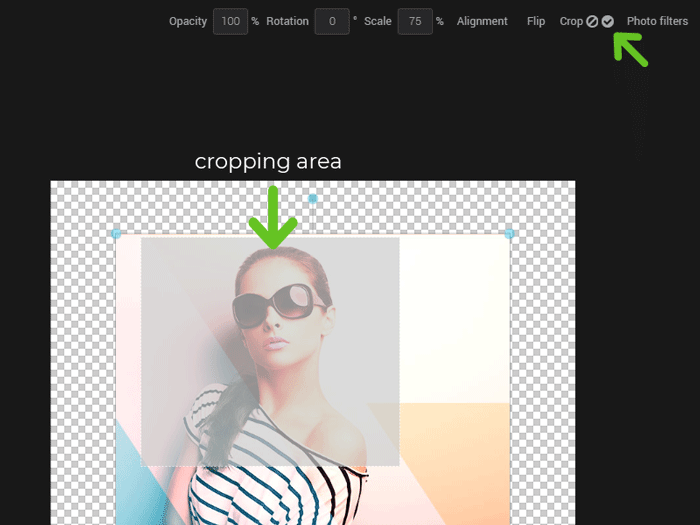
- Select your image.
- Click on “Crop”.
- Put your mouse back on your image. You should notice your cursor changed to four arrows.
- With the new cursor, click where you want the cropping area to begin.
- While clicking on the left button of your mouse, move your mouse to determine the cropping area.
- If you’re satisfied with your crop, click “Apply” (the checkmark) on the right of the “Crop” option to apply your changes. If not, select the “Cancel” icon (the barred circle) or unselect the image (by clicking outside the crop zone) and go back to step two.
FAQ
- Will my text be cropped as well?
No, only your image will be.
- I’ve cropped my picture but I don’t like the result. What can I do?
Use the “Undo” button at the top right corner of the image editor.
- Can I edit the crop zone I just drew?
No. What you can do is cancel the cropped area and draw it again.
- My image zone is bigger than my cropped image. How can I resize my image zone so that it fits the new dimension of my image?
When cropping an image, changes will indeed only be applied to the layer. You can however resize your image zone. Click here to learn how.
Apply a filter to your image
While your image is selected, click the “Photo filters” in the options to open the filter menu.
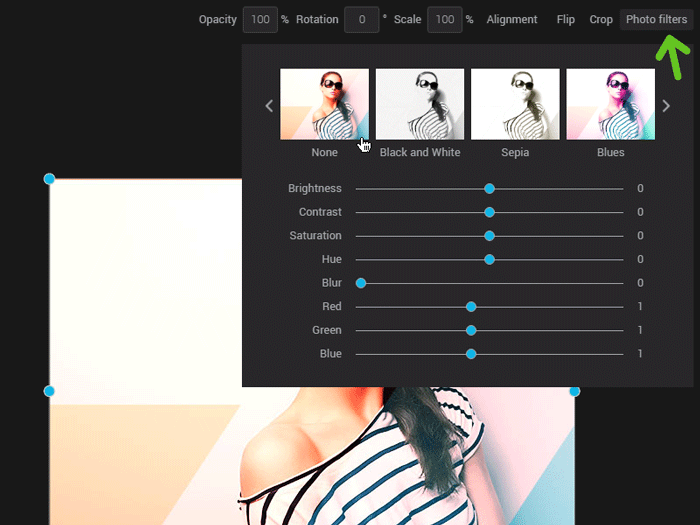
Filters
At the top of the filter menu, you’ll see a preview of various premade filters. Use the arrows to navigate through them and click a filter to apply it to your image. Premade filters are not stackable. Only the last filter selected will be applied to your image.
Effects
The different cursors below the premade filters allow you to edit settings independently. You can use them to change a premade filter or directly on your image to create your own filter.
Note: Filters and effects are not permanent. You can click the first premade filter at anytime (none) to remove any filter and effects from your image.
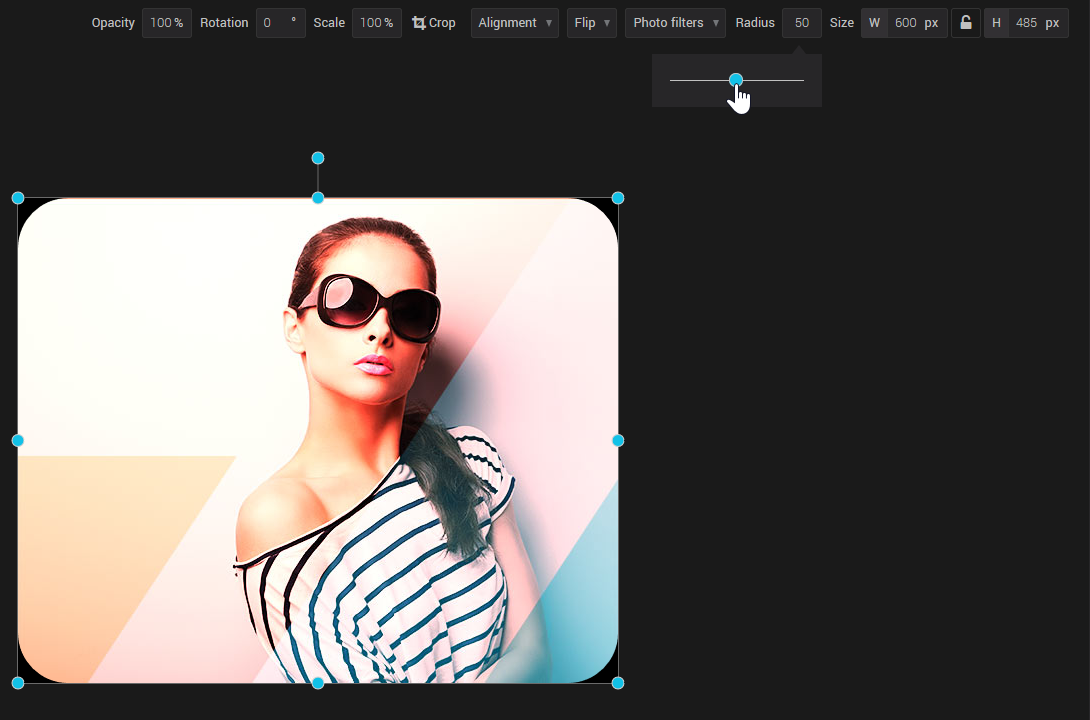
Round the corners of an image
To round the corners of an image, select its layer. Then enter a number in the field or drag the slider of the Radius tool to adjust the corners of your image.
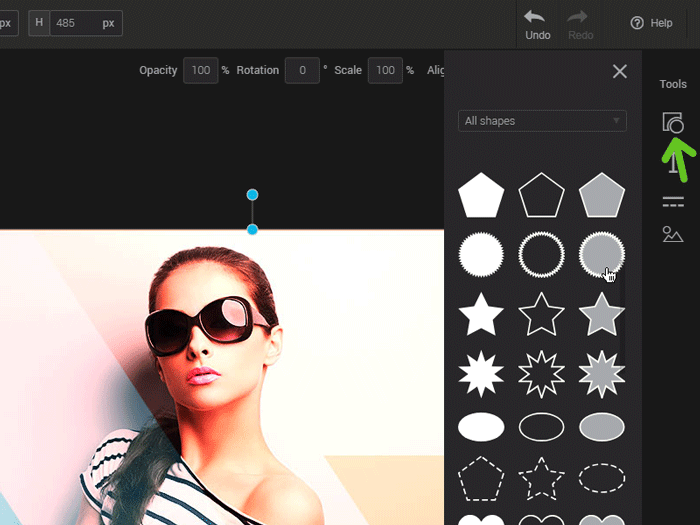
How to add shapes
Click on the “Add a shape” tool to open the menu. Open the dropdown list to filter the images according to your needs. Simply click the desired form to add it to the image zone.
Options for the "Shape" layer
It’s possible to edit the opacity, to rotate or change the alignment and size of your shapes the same way you can on an image. Click here for more information on the use of these options
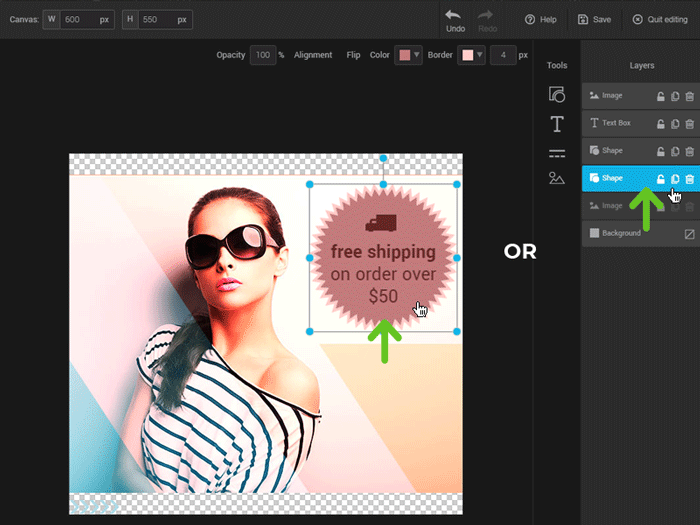
Change the color of your shape and its border
In the “Shape” menu, there are already different colors and themes. If, however, the suggested colors are not quite what you need, know that you can change the color of every shape available.
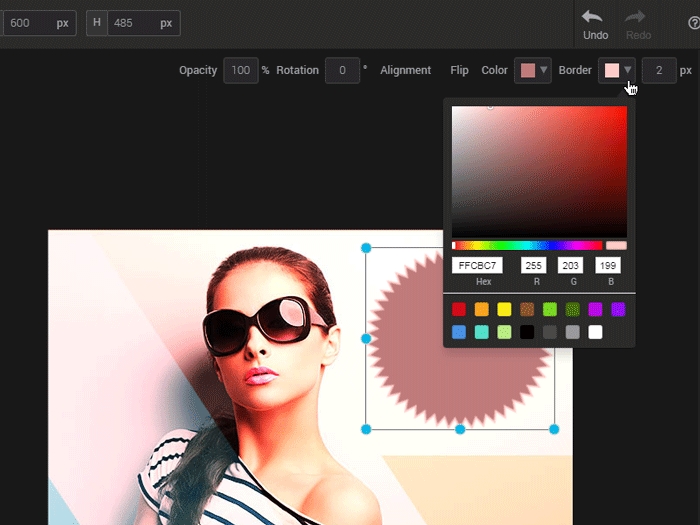
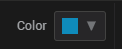
To change the color of the border and the shape, click your shape in the image zone or click the appropriate layer in the “Layers” menu on the right of the image editor. Once selected, click on the triangle on the right of the coloured square. To select your color, you can either:
- Navigate in the different shades available and click in its gradient to choose a color;
- Enter the hexadecimal code or the rgb of your color;
- Select a quick color on the bottom of the window.
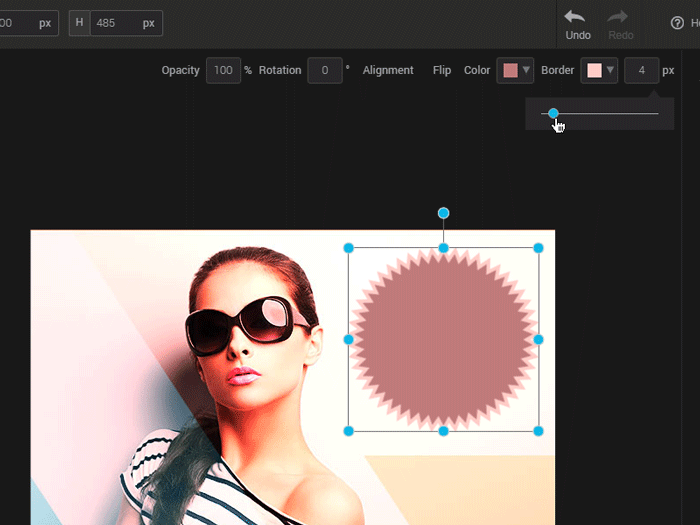
To change the size of the border, either enter a pixel value or slide the cursor.
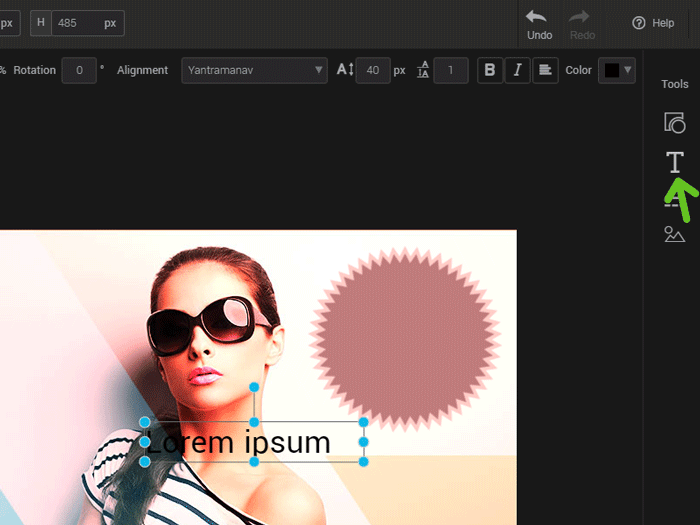
How to add text on your image
Add and edit text
Click the “text” tool to add text to your image zone. To change your text, double click the layer directly in your image zone. You’ll then be able to select it or delete it to enter your own or make corrections to a previously entered text.
Layers options
As with the images and shapes, it’s possible to change the opacity, or rotate and change the alignment.
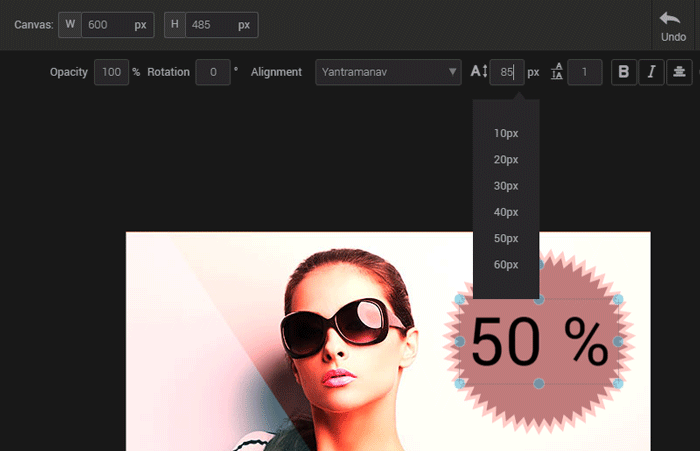
The following options can be applied to the layer as a whole or on a specific selection:
- Font
- Size
- Bold, italic
- Color
Change the line height
Enter a whole number ( 1,2…) or a decimal (1.5) in the appropriate field to control the spacing between the lines. Note that this option will only be visible if your text has more than one line.

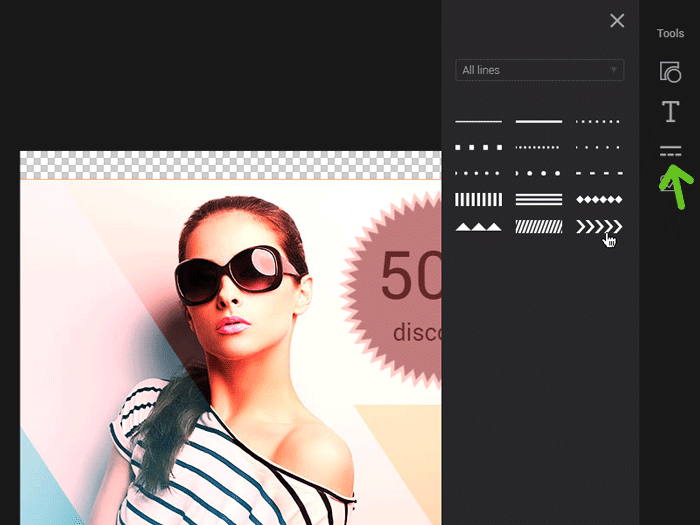
How to add a line on your image
Choose the “Line” tool in the “Tools” menu. A panel will open, with lines of various shapes and sizes. Select the line that you deem the most appropriate for your design to add it to your image.
FAQ
I’m having a hard time selecting my line in the image zone, my background image seems to always be selected.
Click the “Line” layer in the “Layers” panel on the right of the image editor. You can also lock your background image by locking the padlock of this layer. This will ensure your background image won’t be selected by accident.
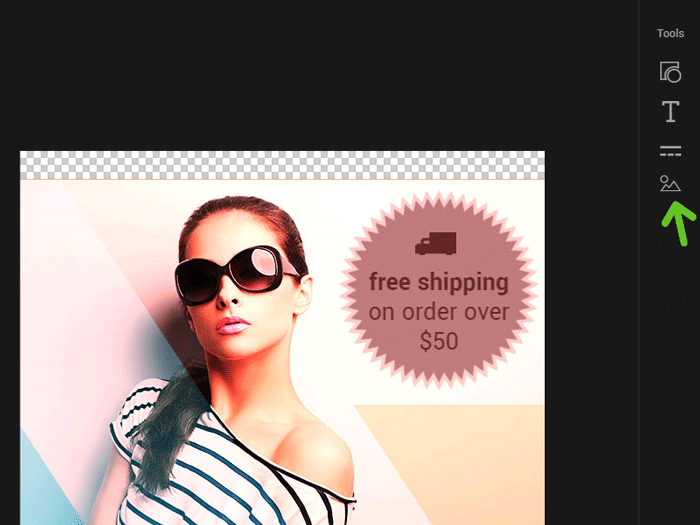
How to add an additional image component to your image
Click the “Image” tool in the Tools menu. From there you can:
- upload a new image directly into your composition (accepted formats: JPG, PNG, GIF, SVG).
- access the images saved in your account.
- browse our royalty-free image bank for new inspirations.
Select your image on your computer. It will be added to your composition. Click here to know more on editing an image.
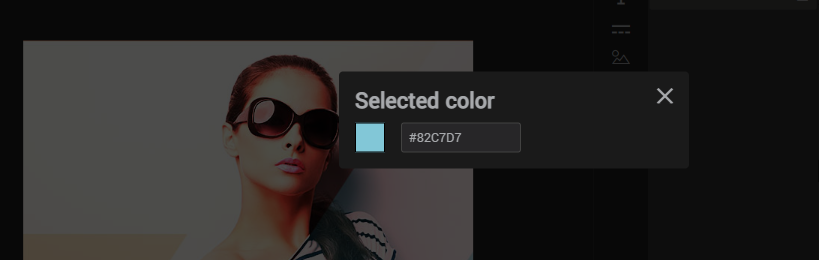
How to find a color code
Use the color picker tool to obtain the precise hexadecimal code of a color.
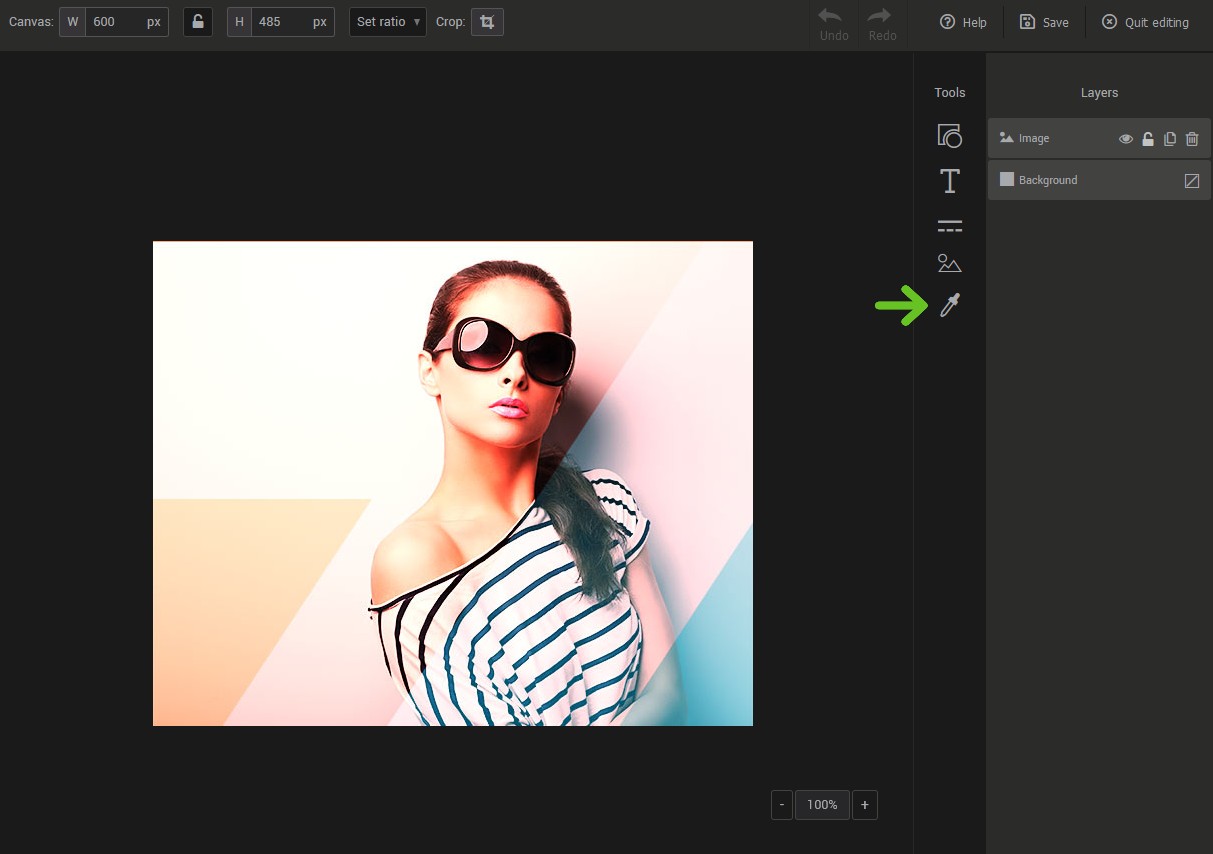
To do this, press the color picker icon in the toolbar, then click on the color to be extracted in the image area. The color code will then appear on the screen. Then copy the 6 numbers or letters following the #. To use the color, paste its code into the Hex field of any color picker panel.
How to use and modify the layers
- How to select one or more layer
- How to change the order of the layers
- How to group or ungroup layers
- How to protect layers
- How to delete layers
- How to duplicate layers
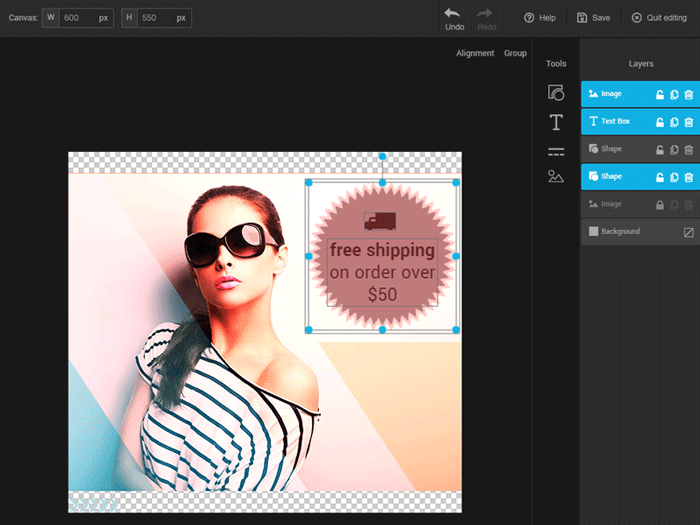
How to select one or more layer
Select a layer by clicking the element itself or the appropriate layer in the “Layers” panel, on the right of the image editor.
To select several layers simultaneously, click left and drag your mouse over your image zone or click your different components by keeping the SHIFT key pressed down. You can also lock the background image by locking the padlock of this layer. This will allow you to select all your components by clicking your image and dragging your mouse over the various layers without accidentally moving components.
How to change the order of the layers
You can change the display order of your layers by moving them in the “Layers” panel. In order to do so, click on the layer you want to move and drag it up or down the layer list.
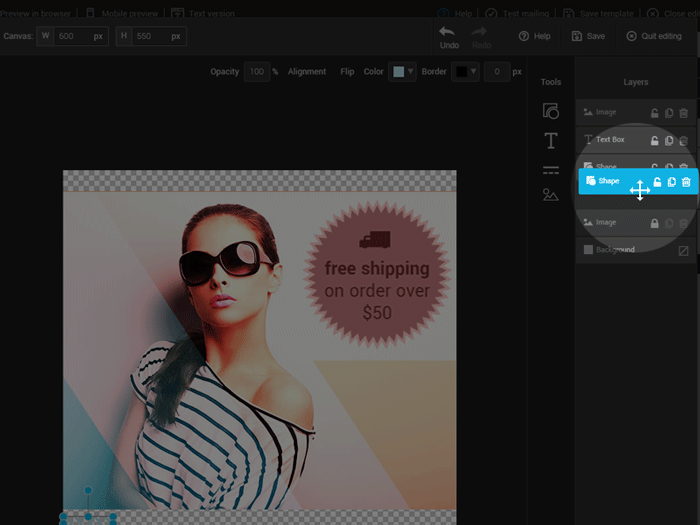
Note:
- The higher in the list your layer is, the more upfront it is in your image.
- It’s impossible to move the background.
How to group or ungroup layers
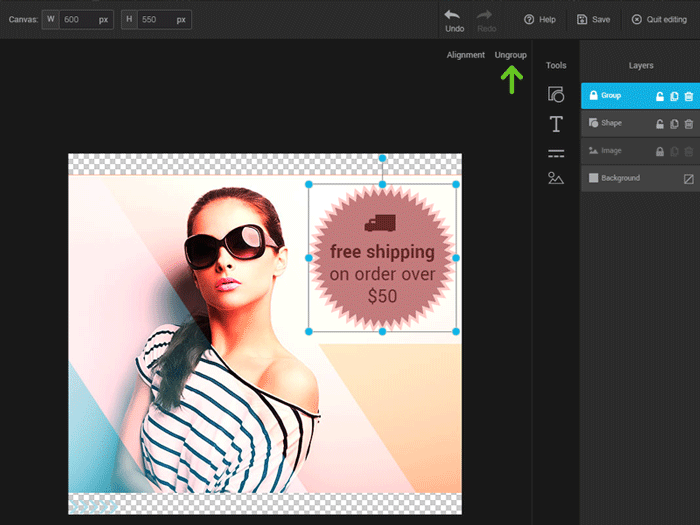
Select several layers simultaneously, click left and drag your mouse over your image zone or click your different components by keeping the SHIFT key pressed down. You can also lock your background image by locking the padlock of this layer. This will allow you to select all your components by clicking your image and dragging your mouse over the various layers of your image without moving your image around. Once selected, you’ll see the “Group” option.
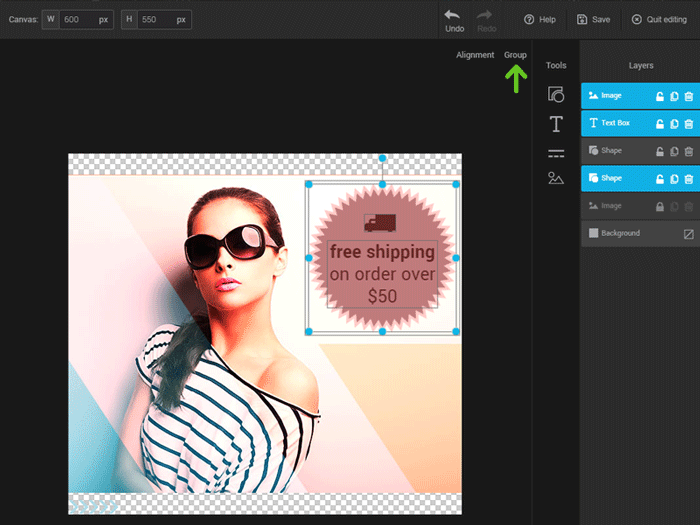
Once grouped, the layers can be moved as one. You won’t be able to apply modifications to layers separately, however. You can separate your different layers at any given time by clicking the “Ungroup” option.
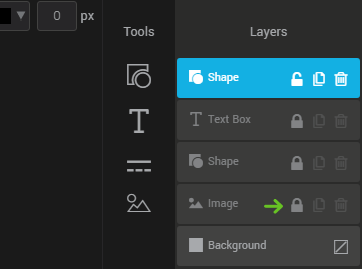
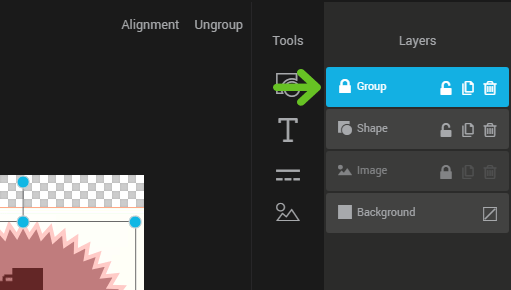
How to protect layers
In your “Layers” panel, on the right of the image editor, click the padlock icon of the layer you wish to protect. This will prevent you from selecting the layer or editing it as long as the padlock is in “locked” position. Click the padlock icon again to unlock modifications.
.png)
How to delete layers
Select your component directly in the image zone or click on the appropriate layer in the "Layers" panel and press down BACKSPACE or DELETE on your keyboard. You can also click the trashcan icon on the right of the layer to delete your component.

How to duplicate layers
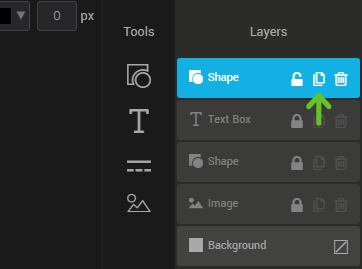
Click the icon representing two sheets of paper on the layer you wish to duplicate.
You can also use the usual keyboard shortcuts. Click the component in the image zone or the appropriate layer in the "Layers" menu. Use the keys CTRL+c ( or COMMAND + c) to copy, then CTRL + v (or COMMAND + v) to paste.
How to edit the background color for the image
The color of your background can either be a solid color or transparent.
To change the color, click the background layer in the layers panel on the right of the image editor. The option menu will appear, allowing you to select the color you want.

To select a transparent background, click the barred square on the right of the background layer. If your background is visible in your image zone, you should see a gray and white check pattern. Don't worry, this pattern will not appear in your final image.
![]()
![]()
How to create a color gradient
It is possible to apply a color gradient on shapes, text, dividers and on the background of your image.
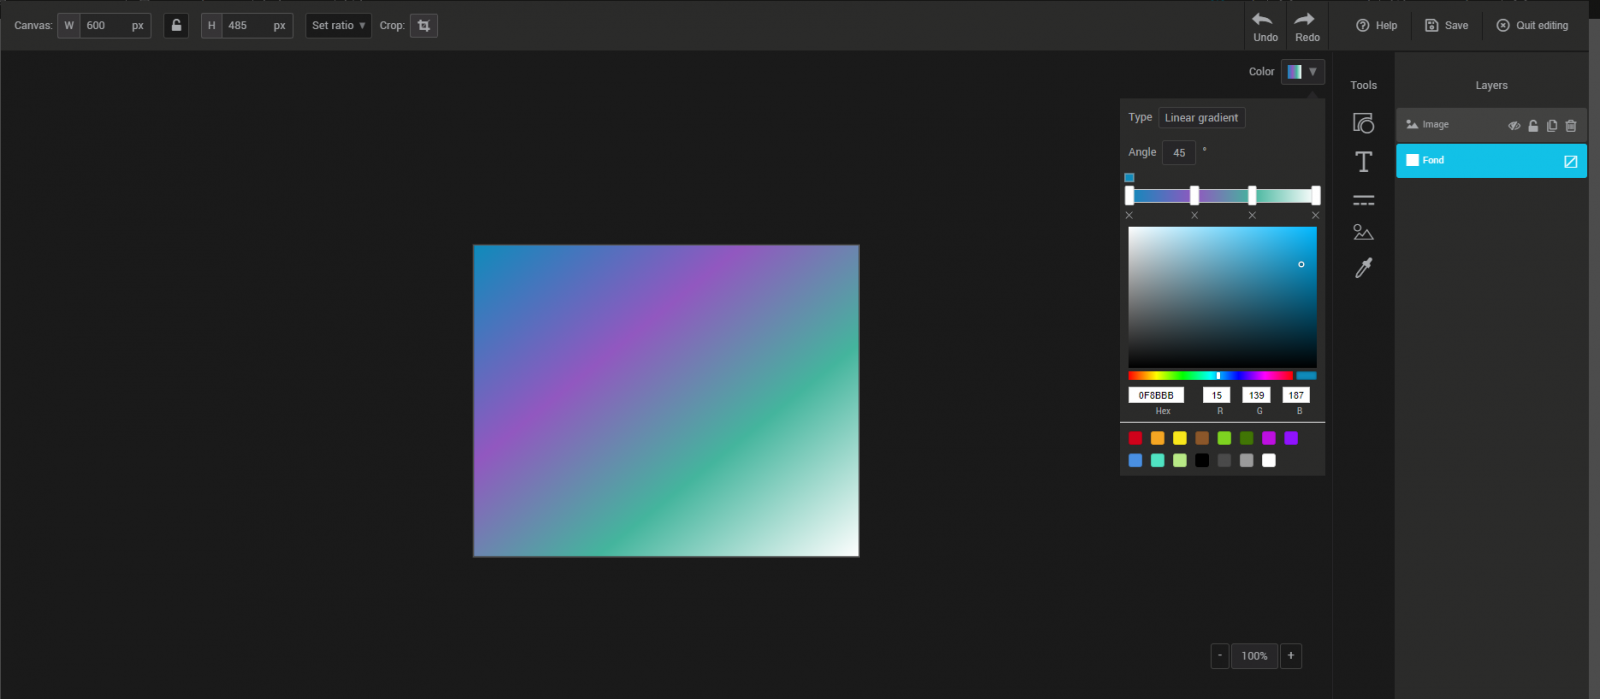
How to do
- Select or add the element to which you want to apply the gradient.
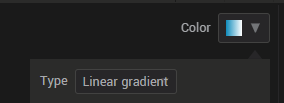
- Open the drop-down list for the Color option of this item.
- From theType menu, choose Linear Gradient.
- Set the direction of the gradient by entering a value in the Angle field.

-
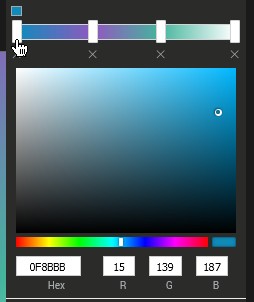
To modify a color, first select its cursor in the gradient bar. Then click on the desired shade in the color picker panel or enter its hexadecimal or RGB code directly.
To add color variations to your gradient, click on the bar to insert sliders. Move them as needed to change the effect.
To delete a color, simply press the X underneath it.
How to edit the dimensions or crop your image
At the top left of the editor you will find the editing options for the image area.

Width and height
Here you can enter the dimensions (in pixels) you want, this is the actual size of your image. To ensure that the proportions of your image remain intact when changing its width or height, click the padlock icon that is located between the two fields. Note that if the actual width of your image is greater than the width of the chosen image block, that's not a problem, the email editor will automatically resize it to fit the space reserved for the image block in your template.
Apply a ratio
When you have multiple images of different sizes displayed on the same row or column, it can create an imbalance in the visual of your email. To go for a more uniform look, you can crop them using the same ratio. This will save you the headache of having to calculate the size so that they will have the same proportions.
Crop
This tool allows you to manually crop your image. Using the blue handles, mark the area you want to keep. When you are finished, press Apply to confirm the change.
How to save your image and the changes you made
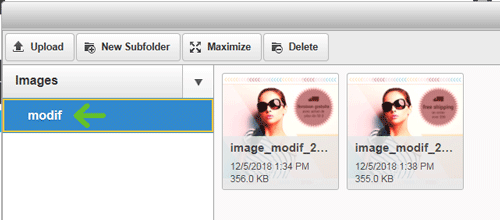
Click the “Save” option in the top right menu of the image editor. This will create a copy of your edited image in your image folder in the “modif” subfolder. The original copy of your image will not be overwritten. A new image will be created each time you save.
How to use an edited image
After your image was saved, select “Quit editing” in the top right menu of the image editor. Your image should now appear in the block you were in in your template.
Can I use keyboard shortcuts in the image editor?
Yes! Here is the list of keyboard shortcuts supported in the image editor:
These shortcuts also work on MAC (with the CTRL key or COMMAND)
- CTRL + c = copy
- CTRL + v = paste
- CTRL + z = undo the last action
- CTRL + y = redo the last action
- CTRL + g = group selected components
- CTRL + SHIFT+ g = undo the selected group
- Arrows = move the selected layer
- Arrows + SHIFT= Move the selected layer ( faster)
- SHIFT+ Moving rotation axis = forcing 15 degrees increments for a more precise rotation
- SHIFT+ moving the corner button on a layer = Resize without keeping the proportions
- DELETE or BACKSPACE = Delete the selected layer.