In this article:
How do micro surveys work?
Each micro survey allows you to ask one question to your contacts. You can add several surveys to a mailing.
Before you begin
Start by creating your micro survey in the Micro Surveys section. Make sure each question includes at least two answer choices.
Once your micro survey is ready, edit an existing template or create a new one, then add a Micro Survey block by selecting the desired layout. Next, link the block to the survey you created and customize its appearance as needed. All that’s left to do is schedule your mailing.
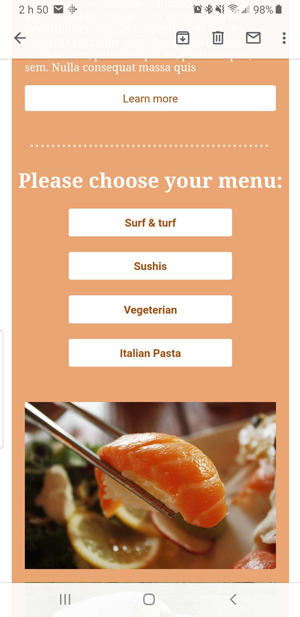
When your recipient receives an email containing a micro survey, they simply need to click on one of the options to submit their response. After clicking, they’ll be redirected to a confirmation page. The response will only be recorded once they confirm their choice.

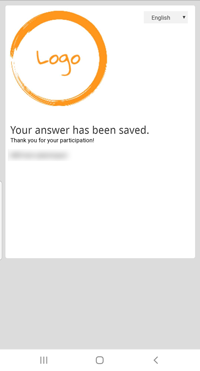
Then, a message will appear to thank them for their participation.
It's possible to use the same survey in different mailings.
You could, for example, use the marketing automation module to send a reminder to people who didn't answer the first time. All answers will be cumulated in the same survey statistics, even if your survey was sent in several mailings.
Here are the different confirmation messages your contact may see:
Participation confirmation
You've already answered

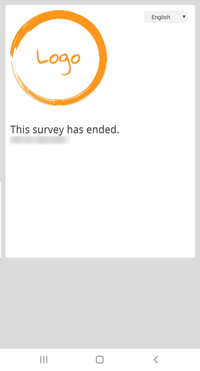
Survey has ended
Create a micro survey
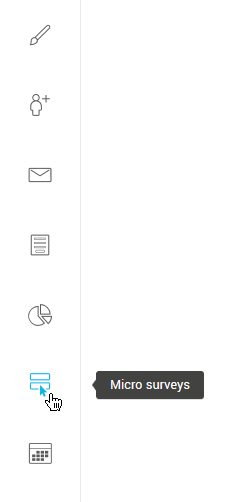
- From the fast access bar on the left, select the Micro Surveys icon.
- Click on + New survey.

- Choose a name for your survey. This will only be visible to you.
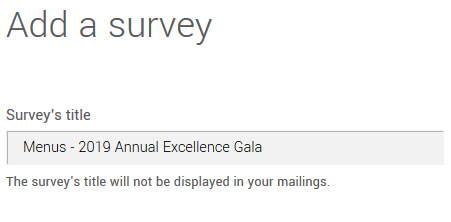
- Select, if needed, an end date for your survey. People who answer the survey after this date will have a message saying that the survey has ended. You can leave this field empty if your survey has no expiration.
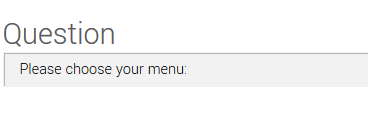
- Write down the question you want to ask to your contacts. When you'll send your survey, your recipients will see it as it is.
- Enter at least two possible answers.
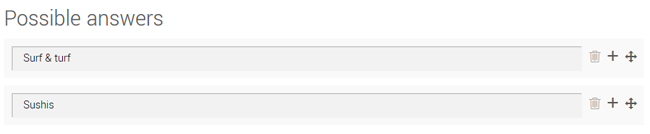
Click the + icon to add more choices..
Click on the garbage bin icon to delete a possible answer.
Use the arrows to move the possible answer's order.
- Click the Save button.
Add a micro survey to a template or draft
- Open an existing template, new template or draft in the simplified editor.
- To add your micro survey, open the Add block tab in the side panel on the right.
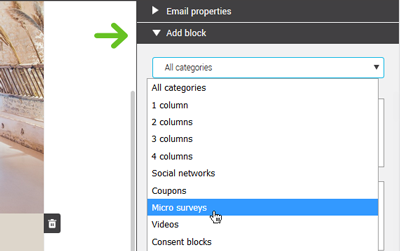
- In the drop-down list, select Micro surveys.
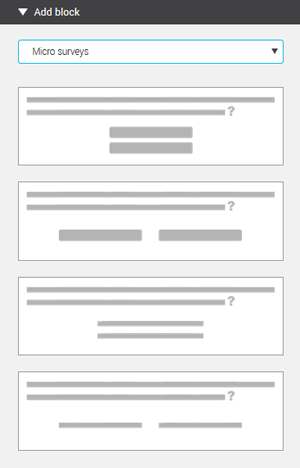
- Choose a block from the various layout available and drag the block where you wish to add your survey.
- Click on your block in your template to select it.
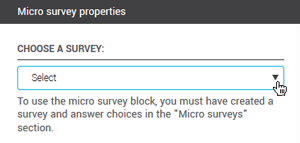
- Select the survey to associate to the block in the Micro survey properties of the side panel on the right.
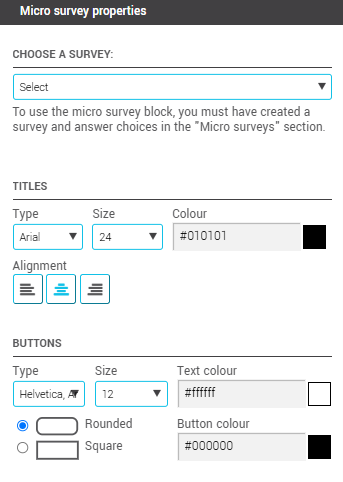
- Still in the Micro survey properties, change, if needed, the font, size and color of your question (title), the alignment and the properties of the buttons or links (answers).
- Test and save your template or draft.